 WEWE Kitchen Faucets
Why Is My Delta Faucet Dripping, and How Do You Fix a Dripping Faucet Delta Style at Home?
Views:131 classificationRepair
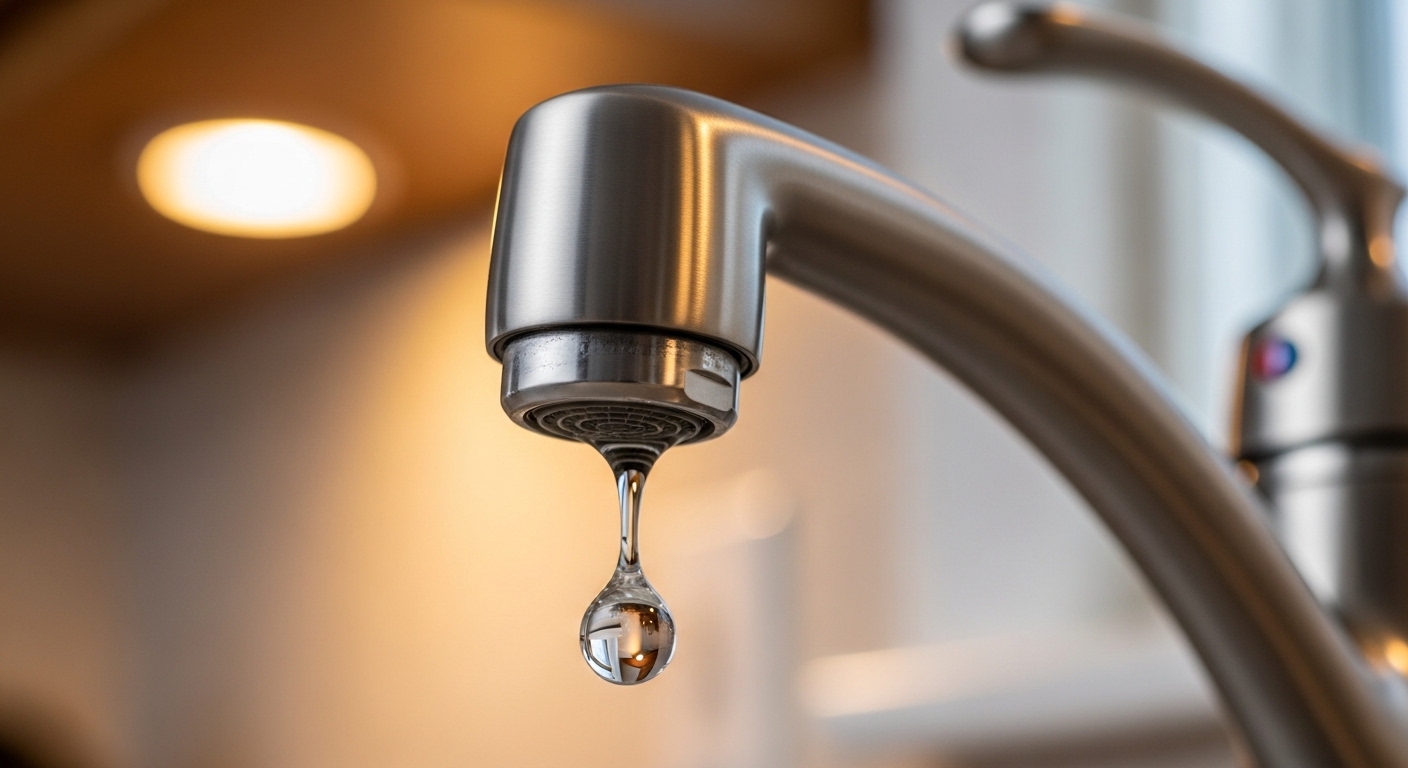
If you have a dripping faucet Delta made, take a breath: this is one of the easiest plumbing repairs in the house, and Delta actually designed its faucets to be rebuilt rather than replaced. The steady drip… drip… drip you hear at 2 a.m. is not the faucet dying — it’s a tiny rubber or ceramic part telling you it’s worn out. Below, I’ll walk you through exactly why Delta faucets drip, how to identify which type you have, and the step-by-step fix for each, including the two most common culprits: the classic ball-valve seats-and-springs and the newer ceramic cartridge.
What actually causes a Delta faucet to drip from the spout?
A Delta faucet drips from the spout because the internal seal that shuts off the water has worn out — most often the two small rubber seats and springs in a ball-type faucet, or a cracked cartridge in a ceramic-disc model. When that seal can no longer press tightly against the moving valve, a thin film of water sneaks past even when the handle is fully off.
Here’s the thing people miss: a drip from the spout and a leak from the base of the handle are two different problems with two different fixes. Water escaping the spout = worn seats/springs or a bad cartridge. Water pooling around the base = a dead O-ring or a loose adjusting ring. Delta faucets use pressurized rubber and ceramic parts that see thousands of on/off cycles a year, and every one of them is a consumable — like brake pads, they’re meant to be swapped.
Common causes, ranked by how often I see them:
- Worn seats & springs (Delta ball-valve faucets) — by far the #1 cause of a spout drip. The rubber seat flattens and the spring loses tension.
- Cracked or scaled ceramic cartridge (Delta single-handle cartridge models) — hard-water scale scratches the ceramic disc so it can’t seal.
- Dead O-rings — cause leaks around the spout base or handle, not usually a spout drip.
- Hard-water mineral buildup — grit lodges under the seat and holds the valve open a hair. If you also see discoloration, that’s a related issue worth reading up on in our guide on why rust comes out of a faucet and how to fix it fast.
- Corroded valve seat — rare on Delta, but pitting on the brass seat area will chew through new rubber quickly.
Which type of Delta faucet do I have — ball, cartridge, or ceramic disc?
Delta makes three internal designs, and identifying yours is the single most important step because it decides which repair kit to buy. The quick tell: a single handle that moves in a rotating dome = ball valve; a single handle that lifts up and swivels smoothly = cartridge; two separate hot/cold handles = usually ceramic-disc stems.
Delta’s iconic single-handle kitchen and bathroom faucets — the ones that have been around for decades — are almost always ball-type. You’ll recognize the repair by the round metal ball with slots that sits under the handle. Newer Delta faucets (and the popular Delta single-handle models with the Diamond Seal Technology) use a self-contained cartridge you pull straight up and out. Two-handle Delta faucets use replaceable stem/cartridge units on each side.
| Delta type | How to identify it | Part that fails & causes the drip | Typical repair kit & cost |
|---|---|---|---|
| Ball valve (single handle) | Rotating metal ball under the handle cap; one lever | Rubber seats & springs; sometimes the ball | Delta RP4993 seats & springs, ~$6–$10 |
| Cartridge (single handle) | Handle lifts and swivels; no ball | Cracked/scaled ceramic cartridge | Delta RP cartridge, ~$15–$40 |
| Ceramic-disc stem (two handle) | Separate hot & cold handles | Worn stem unit or seat washer | Stem/cartridge pair, ~$12–$25 |
How do you fix a dripping single-handle Delta ball faucet step by step?
To fix a dripping single-handle Delta ball faucet, shut off the water, pull the handle and cap, lift out the ball, and replace the two rubber seats and springs underneath — that’s the repair 90% of the time. Start to finish it takes about 25 minutes, and the seats-and-springs kit costs less than a fast-food lunch.
Here’s the exact sequence I use:
- Shut off the water. Turn the two shutoff valves under the sink clockwise until they stop. Open the faucet to release pressure and confirm the water’s off.
- Plug the drain. Drop in a stopper or a rag so you don’t lose the tiny springs down the pipe. This step saves more repairs than any tool.
- Loosen the set screw. Use a small hex/Allen wrench on the set screw under or behind the handle lever, then lift the handle off.
- Unscrew the adjusting ring and cap. Delta includes a little plastic cam wrench in most kits; use it to loosen the adjusting ring, then unscrew the domed cap by hand.
- Lift out the cam, packing, and ball. Note the orientation — there’s a slot and an alignment pin so the ball only goes back one way.
- Replace the seats and springs. Look down into the valve body: you’ll see two rubber seats with springs under them. Pry them out with a flat screwdriver or the tip of a pen, seat the new springs (narrow end down), and press the new rubber seats on top.
- Reassemble in reverse. Drop the ball back on its pin, add the cam/packing, thread the cap, and snug the adjusting ring just tight enough that the handle moves smoothly without dripping.
- Turn the water back on slowly and test. If it still weeps a touch, tighten the adjusting ring a quarter turn.
While you’re in there, if the metal ball is scratched or the faucet is very old, replace the ball too — a scored ball will destroy fresh rubber seats in weeks. This same “the moving part scratches the seal” logic is exactly why washer-based taps wear out; if you’ve ever done a UK-style compression tap, you’ll recognize the pattern from our how to change a kitchen tap washer guide.
How do you fix a dripping Delta cartridge faucet?
To fix a dripping Delta cartridge faucet, shut off the water, remove the handle and bonnet nut, pull the old cartridge straight up, and drop in an identical replacement — no seats or springs involved. The whole job is usually faster than the ball repair because there are fewer loose parts to juggle.
The catch is matching the cartridge. Delta uses several cartridge families, and the wrong one won’t seal or won’t fit. Bring your old cartridge to the store, or better, find your faucet’s model number (often stamped under the spout or on the original paperwork) and match the Delta RP part number. When you pull the cartridge, note the little alignment tabs and the notch position — the replacement has to go back in the same clocking so hot and cold aren’t reversed.
If your Delta faucet is more than 10–15 years old, has been rebuilt twice, or the valve body itself is pitted, replacing the whole faucet can be the smarter money move — a fresh unit comes with new internals, a warranty, and often a lead-free brass body. When you’re weighing repair vs. replace, faucet body material matters for how long the next one lasts; our breakdown of brass vs. zinc faucets and which lasts longer is worth two minutes before you buy.
My Delta faucet still drips after I replaced the cartridge — what did I miss?
If your Delta faucet still drips after a cartridge or seats-and-springs swap, the usual culprits are debris trapped under the new seal, a scratched ball or valve seat, or an adjusting ring that’s too loose. Nine times out of ten it’s grit — a fleck of mineral scale that got knocked loose during the repair and is now propping the valve open.
Run through this checklist before you blame the part:
- Flush the line. With the cartridge/ball out, briefly turn the water on to blast out any grit sitting in the valve body. Catch it with a cup.
- Check the adjusting ring (ball faucets). Too loose = drip; too tight = stiff handle. Dial it in a quarter-turn at a time with the water on.
- Inspect the ball and seat for scratches. A pitted brass seat or scored ball will not seal against new rubber. Replace the ball; smooth a lightly corroded seat with fine emery cloth.
- Confirm you seated the springs correctly. Narrow end down into the valve body, wide end up cradling the rubber seat. Upside-down springs are a classic re-drip.
- Verify the cartridge is fully seated and clocked right. A cartridge that’s a hair proud of the housing won’t compress its O-rings.
Also worth naming: a drip you hear but can’t see at the spout might actually be a valve that never fully closes, which is a different failure mode. If water keeps trickling long after you shut the handle, especially in a shower, read our diagnostic on a shower faucet that keeps running when turned off — the root causes overlap with a stubborn kitchen or bath drip.
What does it cost to fix a dripping Delta faucet — DIY vs. plumber?
Fixing a dripping Delta faucet yourself costs about $6–$40 in parts; hiring a plumber runs roughly $125–$275 for the same job because of the service-call minimum. For a repair this simple, DIY is almost always the right call unless the valve body is damaged or the faucet is buried behind a wall.
| Scenario | Parts cost | Labor | Total | Time |
|---|---|---|---|---|
| DIY seats & springs (ball) | $6–$10 | Free | $6–$10 | ~25 min |
| DIY cartridge swap | $15–$40 | Free | $15–$40 | ~20 min |
| Plumber, minor repair | Included | $100–$225 | $125–$275 | 1 visit |
| Full faucet replacement (DIY) | $90–$300 | Free | $90–$300 | 1–2 hrs |
One number that makes the fix feel urgent: a faucet dripping once per second wastes roughly 3,000 gallons a year — enough to fill 60 bathtubs — and a warm-water drip quietly runs up your water-heating bill too. A $6 kit pays for itself in a month or two.
How do I stop my Delta faucet from dripping again?
To keep a Delta faucet from dripping again, control hard-water scale, don’t over-torque the handle to “force” it off, and keep a spare seats-and-springs or cartridge kit on hand. Mineral buildup is the number-one repeat offender, because grit scores the seals and holds the valve open.
A few habits that genuinely extend the life of the repair:
- Clean the aerator every few months. Unscrew the tip, soak it in white vinegar to dissolve scale, and rinse. A clogged aerator raises internal pressure that stresses the valve.
- Ease the handle closed. Slamming it off crushes the rubber seat prematurely.
- Address hard water at the source if you’re on well or high-mineral municipal water — softening dramatically slows cartridge wear.
- Use genuine Delta parts. Off-brand seats are a hair off-spec and often re-drip within months.
Author note, brand credibility & standards
Author note: This guide was written by the wewefaucet product team, drawing on hands-on bench testing of single-handle and two-handle valve assemblies and years of fielding real customer repair questions. We’ve rebuilt hundreds of ball and cartridge faucets, and every step above is the same sequence our own techs use.
At wewefaucet (www.wewefaucet.net), we design and stock faucets and repair-friendly fixtures built to be serviced, not thrown away. Our valve bodies use lead-free brass meeting the U.S. Safe Drinking Water Act low-lead standard, and our faucets are pressure- and cycle-tested against the ASME A112.18.1 / CSA B125.1 performance benchmarks the industry relies on. Delta, for its part, backs many of its faucets with a limited lifetime warranty that covers the very seats, springs, and cartridges discussed here — so before you buy parts, check whether your model still qualifies for free replacement components from the manufacturer.
FAQ
Why does my Delta faucet drip only at night or randomly?
A Delta faucet that drips intermittently usually has a marginal seal that only leaks when household water pressure spikes — which commonly happens at night when everyone stops using water and line pressure rises. It’s still a worn seat, spring, or cartridge; the pressure change just makes an existing weakness visible. Replace the seals and the random drip stops.
Can I fix a Delta faucet drip without turning off the water?
No — you must shut off the under-sink supply valves (or the main) before opening a Delta faucet, because the valve body is pressurized and will spray once you remove the cap. Turning them off takes ten seconds and prevents a soaked kitchen. Always open the faucet afterward to bleed residual pressure before you disassemble anything.
What Delta repair kit do I need for a dripping single-handle faucet?
For a dripping single-handle Delta ball faucet, you need a seats-and-springs kit (Delta RP4993 is the classic part), and for a scratched ball add the ball assembly. For a single-handle cartridge Delta, you need the specific RP cartridge that matches your model number. Bring the old part to the store or match the model number to avoid buying the wrong family.
How long should a Delta faucet cartridge or seats-and-springs last?
Delta seats and springs typically last 3–7 years, and ceramic cartridges often last 10–15 years, but hard water can cut those times in half. If you’re replacing seals every year, the real problem is mineral scale or a scored ball/seat — fix the root cause instead of just swapping rubber.
Is it worth repairing an old Delta faucet or should I replace it?
Repair it if the valve body and spout are sound — a $6–$40 rebuild restores a Delta faucet to like-new sealing. Replace it if the body is pitted or corroded, it’s been rebuilt multiple times, or you simply want a new finish or feature set; a new faucet also resets the warranty clock. For most drips, the repair wins on cost by a wide margin.
Does a dripping Delta faucet mean the whole faucet is bad?
No. A drip almost never means the faucet is “bad” — it means a single consumable seal reached the end of its service life. Delta specifically engineers its faucets to be rebuilt, which is why replacement seats, springs, and cartridges are cheap and widely available. Swap the worn part and the faucet is as good as new.
您好!please sign in