 WEWE Kitchen Faucets
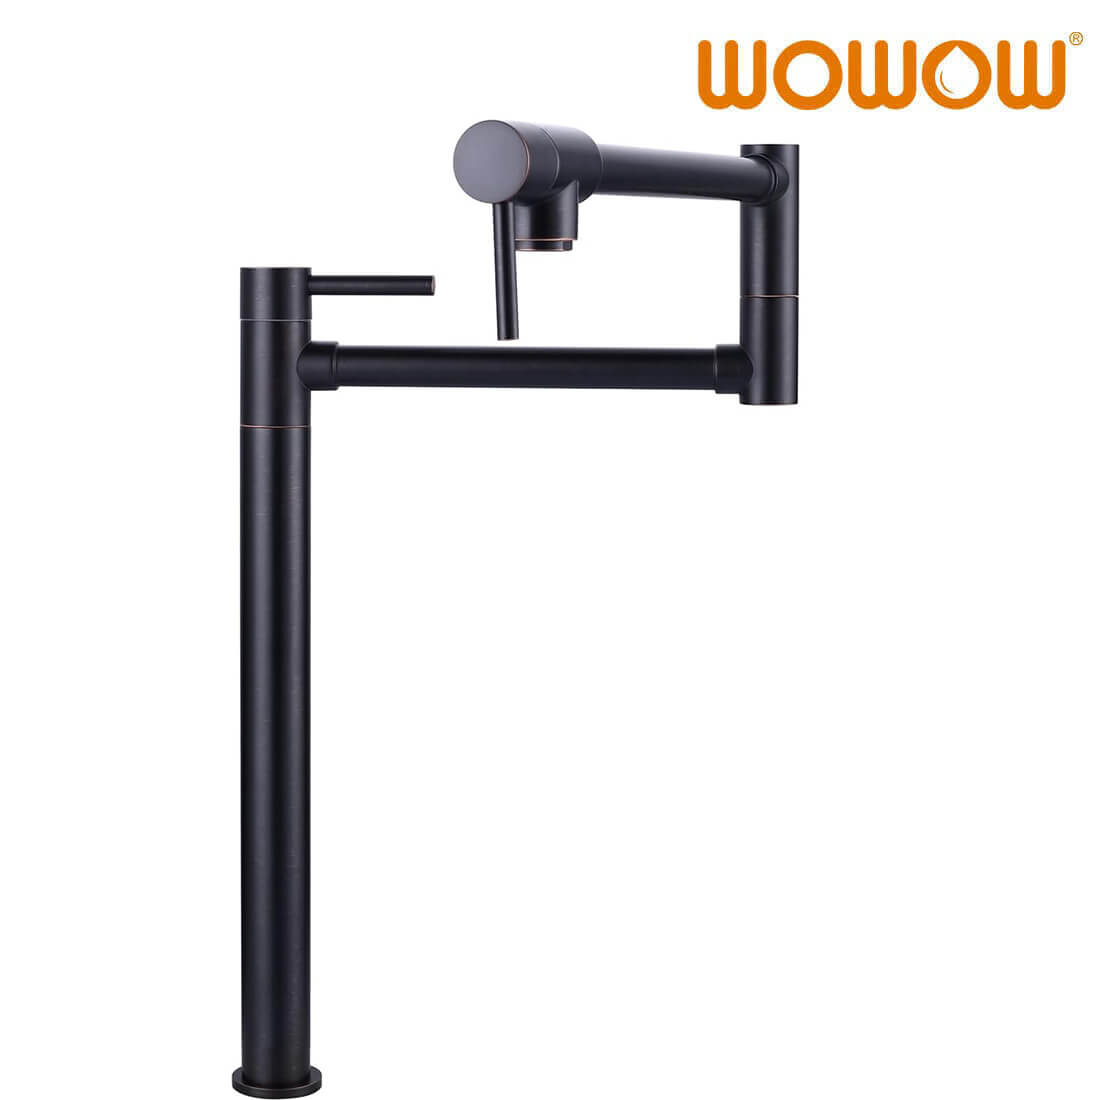
How to Fix a Leaking Pot Filler: A Step-by-Step Guide
Views:971 classificationBlog

A leaking pot filler faucet is a common yet frustrating issue that can lead to wasted water and, in some cases, water damage if left unchecked. Pot fillers are popular in kitchens, particularly above stoves, for filling large pots with ease. But like any faucet, they can develop leaks over time due to wear and tear, mineral build-up, or improper installation. Luckily, fixing a leaking pot filler is something that most DIYers can tackle with the right tools and a little know-how. In this guide, we’ll walk you through the process of diagnosing and fixing a leaking pot filler.
Step 1: Turn Off the Water Supply
Before you start working on any plumbing fixture, it’s essential to turn off the water supply to the pot filler. Locate the shutoff valves for the faucet, usually under the sink or near the wall where the pot filler is installed. If you cannot find individual shutoff valves, you may need to turn off the main water supply to your home.
Once the water supply is off, turn on the faucet to relieve any pressure in the pipes and ensure no more water will flow while you work.
Step 2: Identify the Source of the Leak
The next step is to locate where the leak is coming from. Pot fillers are complex fixtures with moving parts, so the leak could originate from a variety of places. Common areas where leaks occur include:
- The spout: If the spout is dripping, it could be due to a worn-out washer or gasket inside.
- The swivel joint: Pot fillers are designed to rotate, and this joint can become a common source of leaks if the seal is broken.
- The handle or valve: Leaks around the handle often indicate issues with the valve or the O-ring inside the handle.
- The mounting base: A loose or improperly sealed base can cause leaks where the pot filler meets the wall or countertop.
Once you’ve identified the source, you can proceed with fixing the leak.
Step 3: Disassemble the Pot Filler
Depending on where the leak is coming from, you’ll need to disassemble parts of the pot filler. Start by removing the handle and checking the internal components.
- For the Handle: Use a wrench or screwdriver to remove the handle from the faucet. Inside the handle, you may find an O-ring or cartridge that needs to be replaced. If the O-ring is damaged or worn, it will allow water to escape around the handle.
- For the Spout: If the leak is coming from the spout, check the washer or cartridge inside the spout. These washers can wear down over time and cause leaks.
- For the Swivel Joint: If the leak is at the swivel joint, you’ll likely need to disassemble the swivel valve and check for any worn-out seals. If the seal is damaged, it will need to be replaced.
Take note of how each part comes apart, as you will need to reassemble it correctly once the new parts are in place.
Step 4: Inspect for Damage
Once you’ve removed the necessary components, inspect them for signs of wear, corrosion, or damage. Pot fillers are often installed in places where they may be exposed to steam, heat, and moisture, which can accelerate wear.
- Washer and O-Rings: Look for any visible cracks or signs of wear. Over time, rubber washers and O-rings can harden, crack, or degrade, causing them to lose their sealing properties. If you find any damage, it’s time to replace them.
- Cartridge or Valve: If your pot filler uses a cartridge or a valve to control water flow, inspect these parts for any blockages, corrosion, or cracks. If the cartridge is worn, you’ll need to replace it with a new one.
If you don’t see any visible damage but the leak persists, mineral build-up could be a contributing factor. Cleaning out mineral deposits using vinegar or a descaling solution may resolve the issue.
Step 5: Replace Worn Parts
Once you’ve identified the damaged parts, it’s time to replace them. You can usually find replacement parts at your local hardware store or through the manufacturer of your pot filler. Be sure to bring the old parts with you to ensure you get the correct size and model.
- Replacing the Washer/O-Rings: When replacing the washers or O-rings, ensure you’re using the same type and size. It’s a good idea to lubricate the new O-rings with plumber’s grease to help them seat properly and create a tight seal.
- Replacing the Cartridge/Valve: If the cartridge or valve is damaged, you’ll need to find an exact replacement for your pot filler model. Be sure to follow the manufacturer’s instructions for installation.
Step 6: Reassemble the Pot Filler
Once you’ve installed the new parts, it’s time to reassemble the pot filler. Follow the reverse order of disassembly, ensuring that all parts are correctly aligned and tightly secured. If you had to remove the spout, swivel joint, or handle, make sure everything is seated properly.
- Tighten the mounting screws, ensuring that the faucet is firmly anchored to the wall or countertop.
- Reattach the handle, ensuring it’s snug and doesn’t wobble.
Step 7: Test the Pot Filler
Before you fully tighten everything, turn the water supply back on and test the pot filler. Open the faucet and check for leaks at the spout, handle, and swivel joint. If you notice any water dripping, turn the water off and check the connections to ensure they’re properly sealed and tightened.
If there are no leaks, you can proceed to tighten the mounting hardware and ensure the faucet is securely attached to the wall or countertop.
Step 8: Clean Up
Once you’ve confirmed that the leak is fixed, clean up the area and ensure no water is dripping onto the surrounding surfaces. Wipe down the faucet and surrounding areas to remove any debris or moisture.
When to Call a Professional
In most cases, fixing a leaking pot filler is a manageable DIY project. However, if you’ve tried the above steps and the leak persists, it may be time to call in a professional plumber. Persistent leaks can indicate a more significant issue, such as a faulty installation or internal damage that requires specialized tools and expertise to fix.
Conclusion
Fixing a leaking pot filler is a straightforward task that most homeowners can tackle with the right tools and knowledge. By turning off the water supply, identifying the source of the leak, and replacing any worn-out parts, you can save water, money, and potential water damage. With the steps outlined above, your pot filler should be back in working order in no time. If you’re ever unsure or the leak continues after a repair, don’t hesitate to consult a professional plumber for help.
您好!please sign in