 WEWE Kitchen Faucets
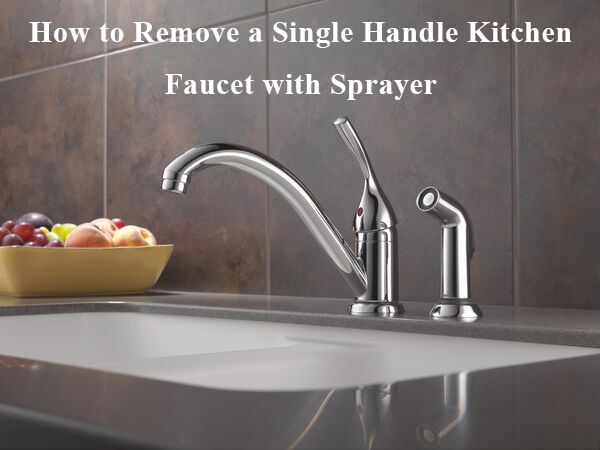
The kitchen faucet is one of the most frequently used fixtures in your home. Over time, it’s not uncommon for a faucet to develop issues like leaks or reduced water flow. Perhaps you’re looking to upgrade to a new, stylish faucet to enhance the aesthetics of your kitchen. In either case, removing your old single-handle kitchen faucet with a sprayer is the first step in the process. This comprehensive guide will walk you through the steps required to successfully remove your old faucet and prepare for the installation of a new one.
Tools and Materials You’ll Need:
- Adjustable wrench
- Plumber’s tape (optional, for reinstallation)
- Towels or rags
- Bucket or container (for catching water)
- Flathead screwdriver

Step-by-Step Guide:
1. Turn Off the Water Supply: Before you start any plumbing project, the first and most crucial step is to turn off the water supply. Locate the shut-off valves beneath your sink and turn them clockwise to shut off the flow of both hot and cold water. To ensure you’ve turned off the water completely, try turning on the faucet to release any residual water pressure.
2. Prepare Your Work Area: Plumbing work can get messy. Lay down towels or rags under the sink to catch any drips or spills. Additionally, place a bucket or container underneath the faucet to collect any water that may drain from the lines.
3. Disconnect the Sprayer Hose: The sprayer hose is typically connected to the faucet with a threaded connection or a quick-connect fitting. Locate the connection point and use your adjustable wrench to loosen and disconnect it. Be prepared for some water to come out when you do this, so ensure your container is ready to catch any drips.
4. Remove the Faucet Handle: Most single-handle faucets have a decorative cap on top of the handle. Carefully pry off this cap using a flathead screwdriver or your fingers. Once the cap is removed, you’ll find a screw beneath it. Use your screwdriver to unscrew it and detach the handle from the faucet.
5. Remove the Faucet Nut: Beneath the handle, you’ll see a large nut that secures the faucet to the sink. To remove it, use your adjustable wrench to turn it counterclockwise. This nut may be tightly secured, so you may need to apply some force. Be patient and take care not to damage any surrounding fixtures.
6. Lift Out the Faucet: With the nut removed, you should be able to lift the faucet out of the sink. Gently pull it upwards, taking care not to damage the sink or any plumbing connections. If the faucet is stuck, you can gently rock it back and forth while pulling upward to release it.
7. Clean and Prepare for Reinstallation (Optional): If you intend to install a new faucet, this is an excellent opportunity to clean the sink area thoroughly. Use a mild detergent and warm water to remove any residue left behind by the old faucet. Additionally, consider applying plumber’s tape to the threads of the water supply lines and the sprayer hose connection. This tape helps create a watertight seal and prevents leaks when you install the new faucet.
8. Dispose of the Old Faucet: Properly dispose of the old faucet in accordance with your local waste disposal regulations. If the faucet is still in good condition, you might explore options like donating it or recycling it.
Removing a single-handle kitchen faucet with a sprayer might seem like a daunting task, but with the right tools and a step-by-step approach, it’s a DIY project that can be accomplished by most homeowners. By following these instructions, you’ve successfully completed the first phase of your kitchen faucet replacement or repair project.
Conclusion: Removing a single-handle kitchen faucet with a sprayer is a valuable skill for any homeowner, whether you’re dealing with a malfunctioning faucet or simply want to give your kitchen a fresh look. By following the steps outlined in this guide, you can safely and efficiently remove your old faucet, preparing the way for the installation of a new one or making necessary repairs. Remember to exercise caution throughout the process and consult a professional plumber if you encounter any unexpected challenges or complications. With the right approach and tools, you’ll have your kitchen faucet removed and ready for the next phase of your project in no time.
您好!please sign in